Holes and Gaps in Your Crochet: What Causes Them and How to Fix Them
Some holes are part of the design, like the spaces in a granny square. Others sneak in by accident. Here's how to tell which is which, and how to find and fix the accidental ones.
4 min readPublished
This profile is a development placeholder, not a real person, and claims no credentials. See our contributors.
The short version
- An accidental hole is usually a skipped stitch or a stitch worked in the wrong place.
- Gaps at row edges usually come from the turning chain.
- Holes beside increases happen when you work into a chain space or the wrong loop.
- For amigurumi, a smaller hook and invisible decreases close most gaps.
Planned holes vs accidental holes
Crochet is full of intentional holes: chain spaces in granny squares, mesh patterns and lace. If the hole appears in the same place on every repeat and the pattern says "ch 1, skip 1" or similar, it's meant to be there.
An accidental hole looks different: it appears once, in a random spot, often with the stitches around it looking pulled or out of line. Those are the ones worth fixing.
Holes in the middle of a row
A random hole in the middle of solid fabric usually means one of three things:
- A skipped stitch. You missed a stitch, so the stitches either side are stretched over the gap. Your stitch count for that row will be one short.
- Two stitches worked into one. This adds a stitch and pushes the fabric apart, leaving a gap next to it. Your stitch count will be one over.
- Working into the wrong spot. Putting a stitch into a space between stitches instead of into the top of a stitch leaves a gap.
The fix: count your stitches at the end of each row. If the count is off, look back along the row for the hole, pull out the stitches back to it (crocheters call this "frogging," because you "rip it, rip it"), and rework them. It's much faster than discovering the problem ten rows later.
Gaps at the start and end of rows
Gaps along the edges of your work are almost always about the turning chain:
- With double crochet and taller stitches, the turning chain is thinner than a real stitch, so it leaves a gap at the start of each row. Try chaining one fewer, a stacked single crochet, or a chainless starting double crochet. See our double crochet lesson for how.
- If the turning chain doesn't count as a stitch but you skip the first stitch anyway, you'll get a notch and lose a stitch.
- If the turning chain does count but you also work into the first stitch, you'll gain a stitch and the edge will ripple.
Our guide to fixing uneven crochet edges goes through each case in detail.
Holes next to increases
In rounds, such as hats, circles and amigurumi, small holes often appear where you increase (work 2 stitches into 1). A few fixes:
- Make sure both stitches go into the same stitch, under both top loops, rather than one going into the stitch and one into the gap beside it.
- Use a tighter tension or smaller hook if the holes are just a little too open.
- Stagger your increases so they don't stack in the same place every round. That spreads the stretching out.
Our increase calculator spaces increases evenly around any number of stitches.
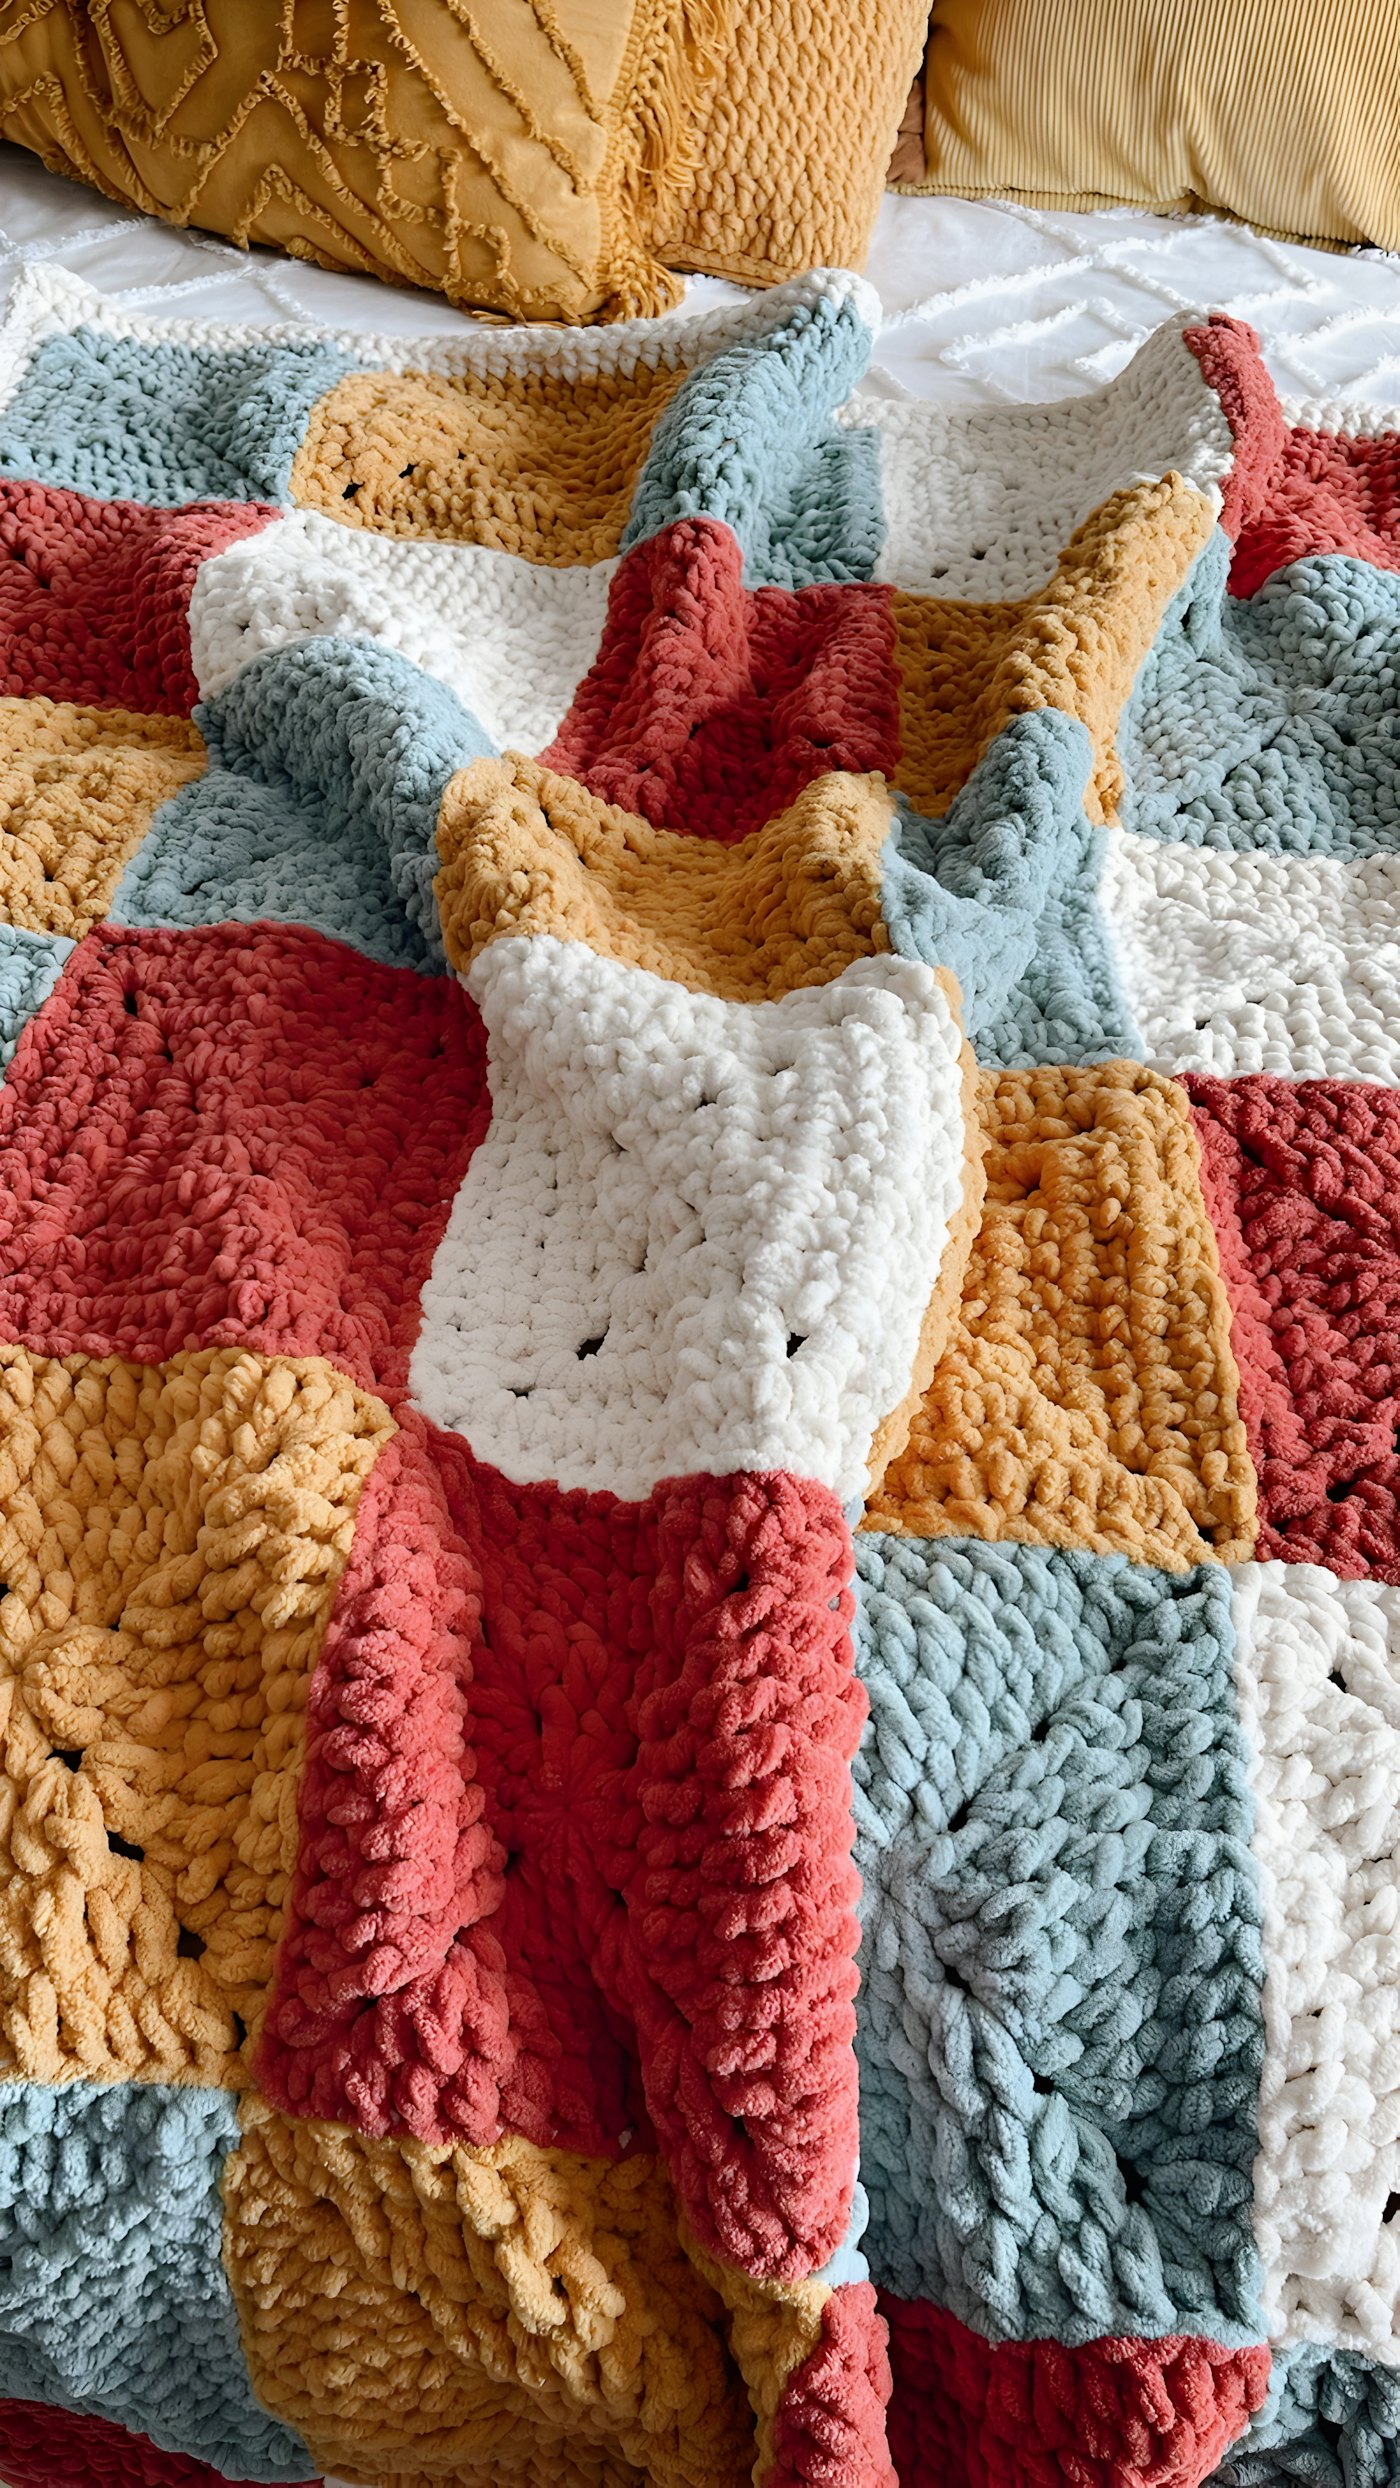
Holes in granny squares and joins
- Big holes at granny square corners usually mean too many chains in the corner. Try
ch 1instead ofch 2at the corners, or work the corner clusters with a smaller hook. - Gaps between joined squares come from joining with loose stitches. A whip-stitch or slip-stitch join through both loops of each stitch is tighter than a single crochet join.
- A hole in the center of a square started with a chain ring is normal. Switch to a magic ring if you want it closed.
Gaps in amigurumi
Amigurumi have to be tight enough that stuffing doesn't show. If you can see stuffing:
- Go down a hook size or two. Amigurumi are normally crocheted with a hook smaller than the yarn label recommends, to make a dense fabric.
- Use the invisible decrease instead of sc2tog. It closes the gap that regular decreases leave. See our invisible decrease lesson.
- Try the yarn-under technique. Some crocheters yarn under instead of over on the first loop of single crochet, which makes a tighter "X"-shaped stitch. Many amigurumi designers recommend it.
- Stuff with a matching color, or use a thin layer of fabric inside, for light-colored pieces.
Fixing a hole without ripping out
If you only notice a small hole after the project is finished, you can usually close it from the back:
- 1.Thread a yarn needle with a matching tail, or with a new piece of the same yarn.
- 2.Working on the wrong side, stitch through the loops around the hole and gently draw them together.
- 3.Weave the end in securely, changing direction at least once.
It's not as invisible as reworking the stitches, but it's often good enough for a gap in a blanket or toy, and much better than leaving it.
Questions crocheters ask
Usually a skipped stitch, two stitches in one place, or a stitch worked into a gap instead of a stitch top. Counting stitches at the end of each row helps you catch these early.
Related Crochet Calculators & Converters
Stitch Count Calculator
Calculate the exact number of stitches needed to resize any pattern or match custom dimensions.
Crochet Increase Calculator
Evenly distribute increase stitches across any row or round with step-by-step crochet instructions.
Crochet Decrease Calculator
Distribute decreases smoothly across any row or round with human-readable crochet instructions.
Related Educational Guides & Tutorials
Why Is My Crochet Blanket Getting Wider? 5 Causes and Fixes
A blanket that turns into a trapezoid is gaining stitches or changing tension. Diagnose which in two minutes, fix the five common causes, and rescue a blanket that's already wonky.
How to Fix Uneven Crochet Edges and Keep Them Straight
Almost every wobbly edge comes from the first and last stitch of each row. Learn the turning chain rules, the fixes for gappy edges, and how to tidy a finished piece with a border.