How to Make a Magic Ring (Magic Circle) in Crochet
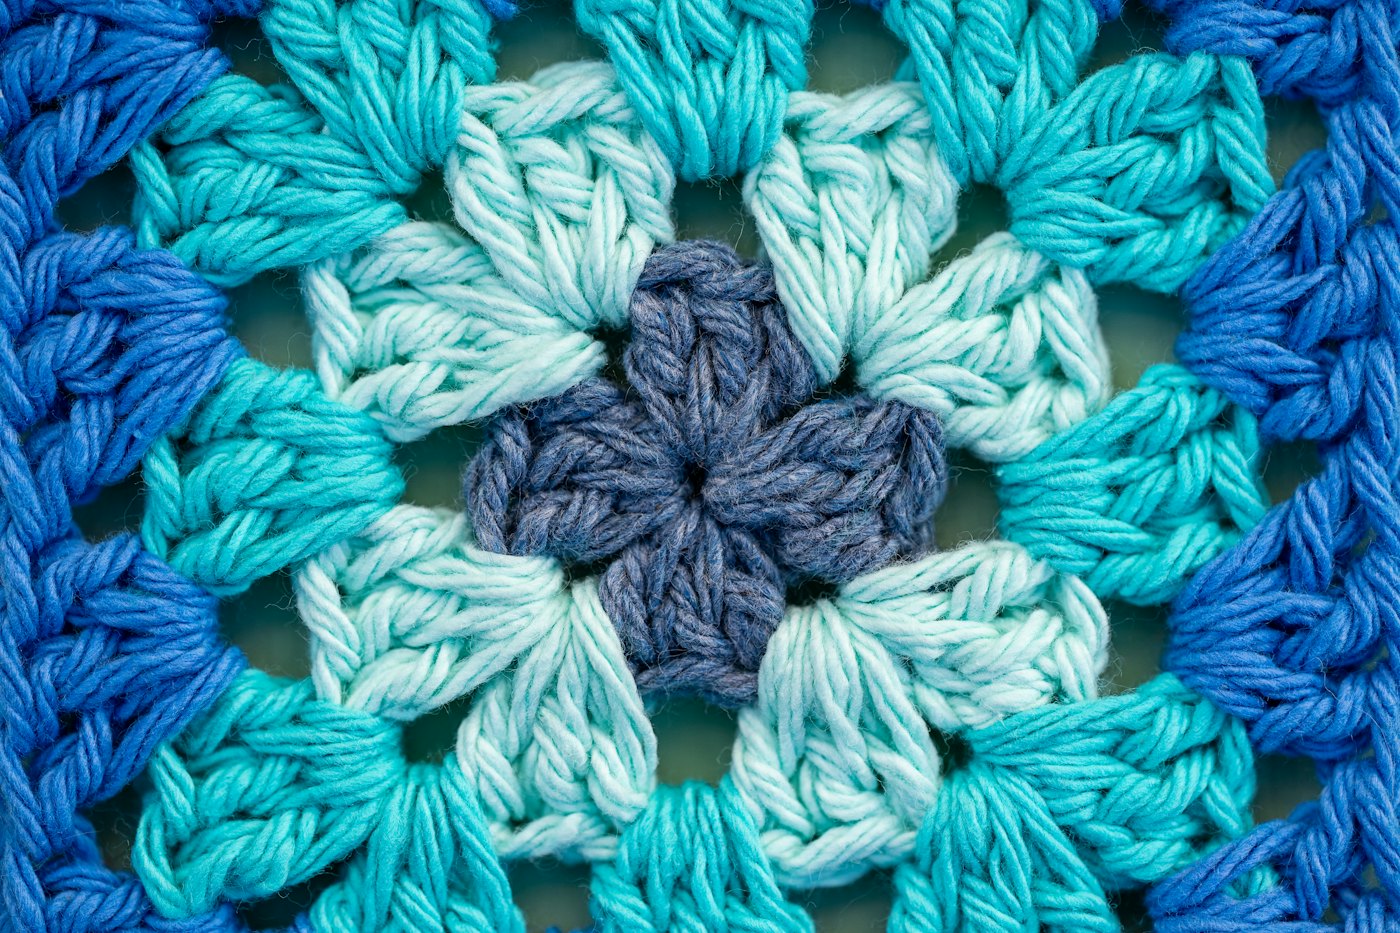
The magic ring, also called a magic circle or adjustable ring, starts round projects with no hole in the middle. It feels fiddly the first few times, and then it becomes second nature. Here's how to make it and how to keep it closed.
4 min readPublished Updated
This profile is a development placeholder, not a real person, and claims no credentials. See our contributors.
The short version
- A magic ring lets you pull the center of a round project completely closed.
- Work the first round into the ring, then pull the tail to close it.
- Weave the tail in carefully, changing direction, or the ring can loosen.
- A chained ring (ch 4, sl st to join) is an easier alternative when a small hole is fine.
Why use a magic ring?
Many projects are worked in rounds from the center out: hats from the crown down, granny circles, coasters, and almost all amigurumi. You need some way to start that first round.
The traditional way is to chain a few stitches and join them into a ring. That always leaves a small hole in the middle. A magic ring is an adjustable loop you crochet into and then pull tight, so the center closes completely. For amigurumi, where stuffing can poke through gaps, that matters a lot.
Making the ring, step by step
These steps assume you're right-handed and starting with single crochet, as most amigurumi patterns do, for example "6 sc in magic ring."
- 1.Make a loop. Lay the tail end of the yarn across your palm, then wrap the working yarn around two fingers so it crosses over the tail and makes an X on the back of your fingers.
- 2.Insert the hook under the front strand of the loop, from front to back.
- 3.Catch the working yarn (the strand going to the ball) and pull up a loop. You now have one loop on your hook.
- 4.Chain 1 by yarning over and pulling through the loop on your hook. This secures the ring. It usually does not count as a stitch.
- 5.Work your stitches into the ring. Insert the hook through the center of the ring, under both the loop and the tail, then complete a single crochet. Repeat until you have the number your pattern asks for, often 6.
- 6.Close the ring by pulling the tail firmly. The center draws up and the hole disappears.
- 7.Join or continue. Some patterns join with a slip stitch into the first stitch. Amigurumi is usually worked in a continuous spiral, so you simply carry on into the first stitch of the next round.
Counting stitches in the first round
Before you pull the tail, spread the stitches out and count them. It's much easier to fix a miscount now, when you can still loosen the ring, than after it's closed.
If you're working in a spiral, put a stitch marker in the first stitch of the round and move it up each round. Spirals have no visible join, so without a marker it's very easy to lose track of where a round begins.
Keeping the ring closed for good
The one weakness of a magic ring is that it can loosen over time if the tail isn't secured well, especially on toys that get squeezed and washed.
- Don't trim the tail right after closing. Work a round or two first, then pull the tail tight once more.
- Thread the tail onto a yarn needle and weave it through the backs of the first-round stitches in one direction, then back in the opposite direction. The change of direction locks it in place.
- On amigurumi, you can also weave the tail across the center once more before hiding it inside the stuffing.
Slippery yarns such as cotton and bamboo loosen more easily than wool or acrylic, so give those an extra pass.
Chain ring: the easy alternative
If the magic ring isn't working for you yet, or a small hole doesn't matter, start with a chain ring:
- 1.Chain 4.
- 2.Slip stitch into the first chain to form a ring.
- 3.Work your first round into the center of the ring, not into the chains themselves.
This is how many traditional granny squares start, and the small hole in the middle is part of the look. You can always learn the magic ring later and switch.
Common problems and fixes
- The ring won't close: you may have worked a stitch around only the loop and not the tail too. Each stitch must go under both strands.
- The tail pulls out completely: the loop was never crossed, so it isn't a ring. Make sure the working yarn crosses the tail in step 1.
- A gap remains in the middle: pull the tail harder, then tighten the loop strand itself if your ring has two strands.
- Too many or too few stitches: count before closing. A magic ring can be loosened and corrected until the tail is woven in.
Questions crocheters ask
Yes. They're three names for the same technique.
Related Crochet Calculators & Converters
Crochet Increase Calculator
Evenly distribute increase stitches across any row or round with step-by-step crochet instructions.
Crochet Hat Size Calculator
Calculate crown circle diameter, total hat height, and stitches for preemie to adult sizes.
Amigurumi Size Calculator
Scale amigurumi toy patterns up or down by switching yarn weights and hook sizes.