Crochet Techniques
How to Fix Uneven Crochet Edges and Keep Them Straight
Almost every wobbly edge comes from the first and last stitch of each row. Learn the turning chain rules, the fixes for gappy edges, and how to tidy a finished piece with a border.
6 min readPublished Updated
This profile is a development placeholder, not a real person, and claims no credentials. See our contributors.
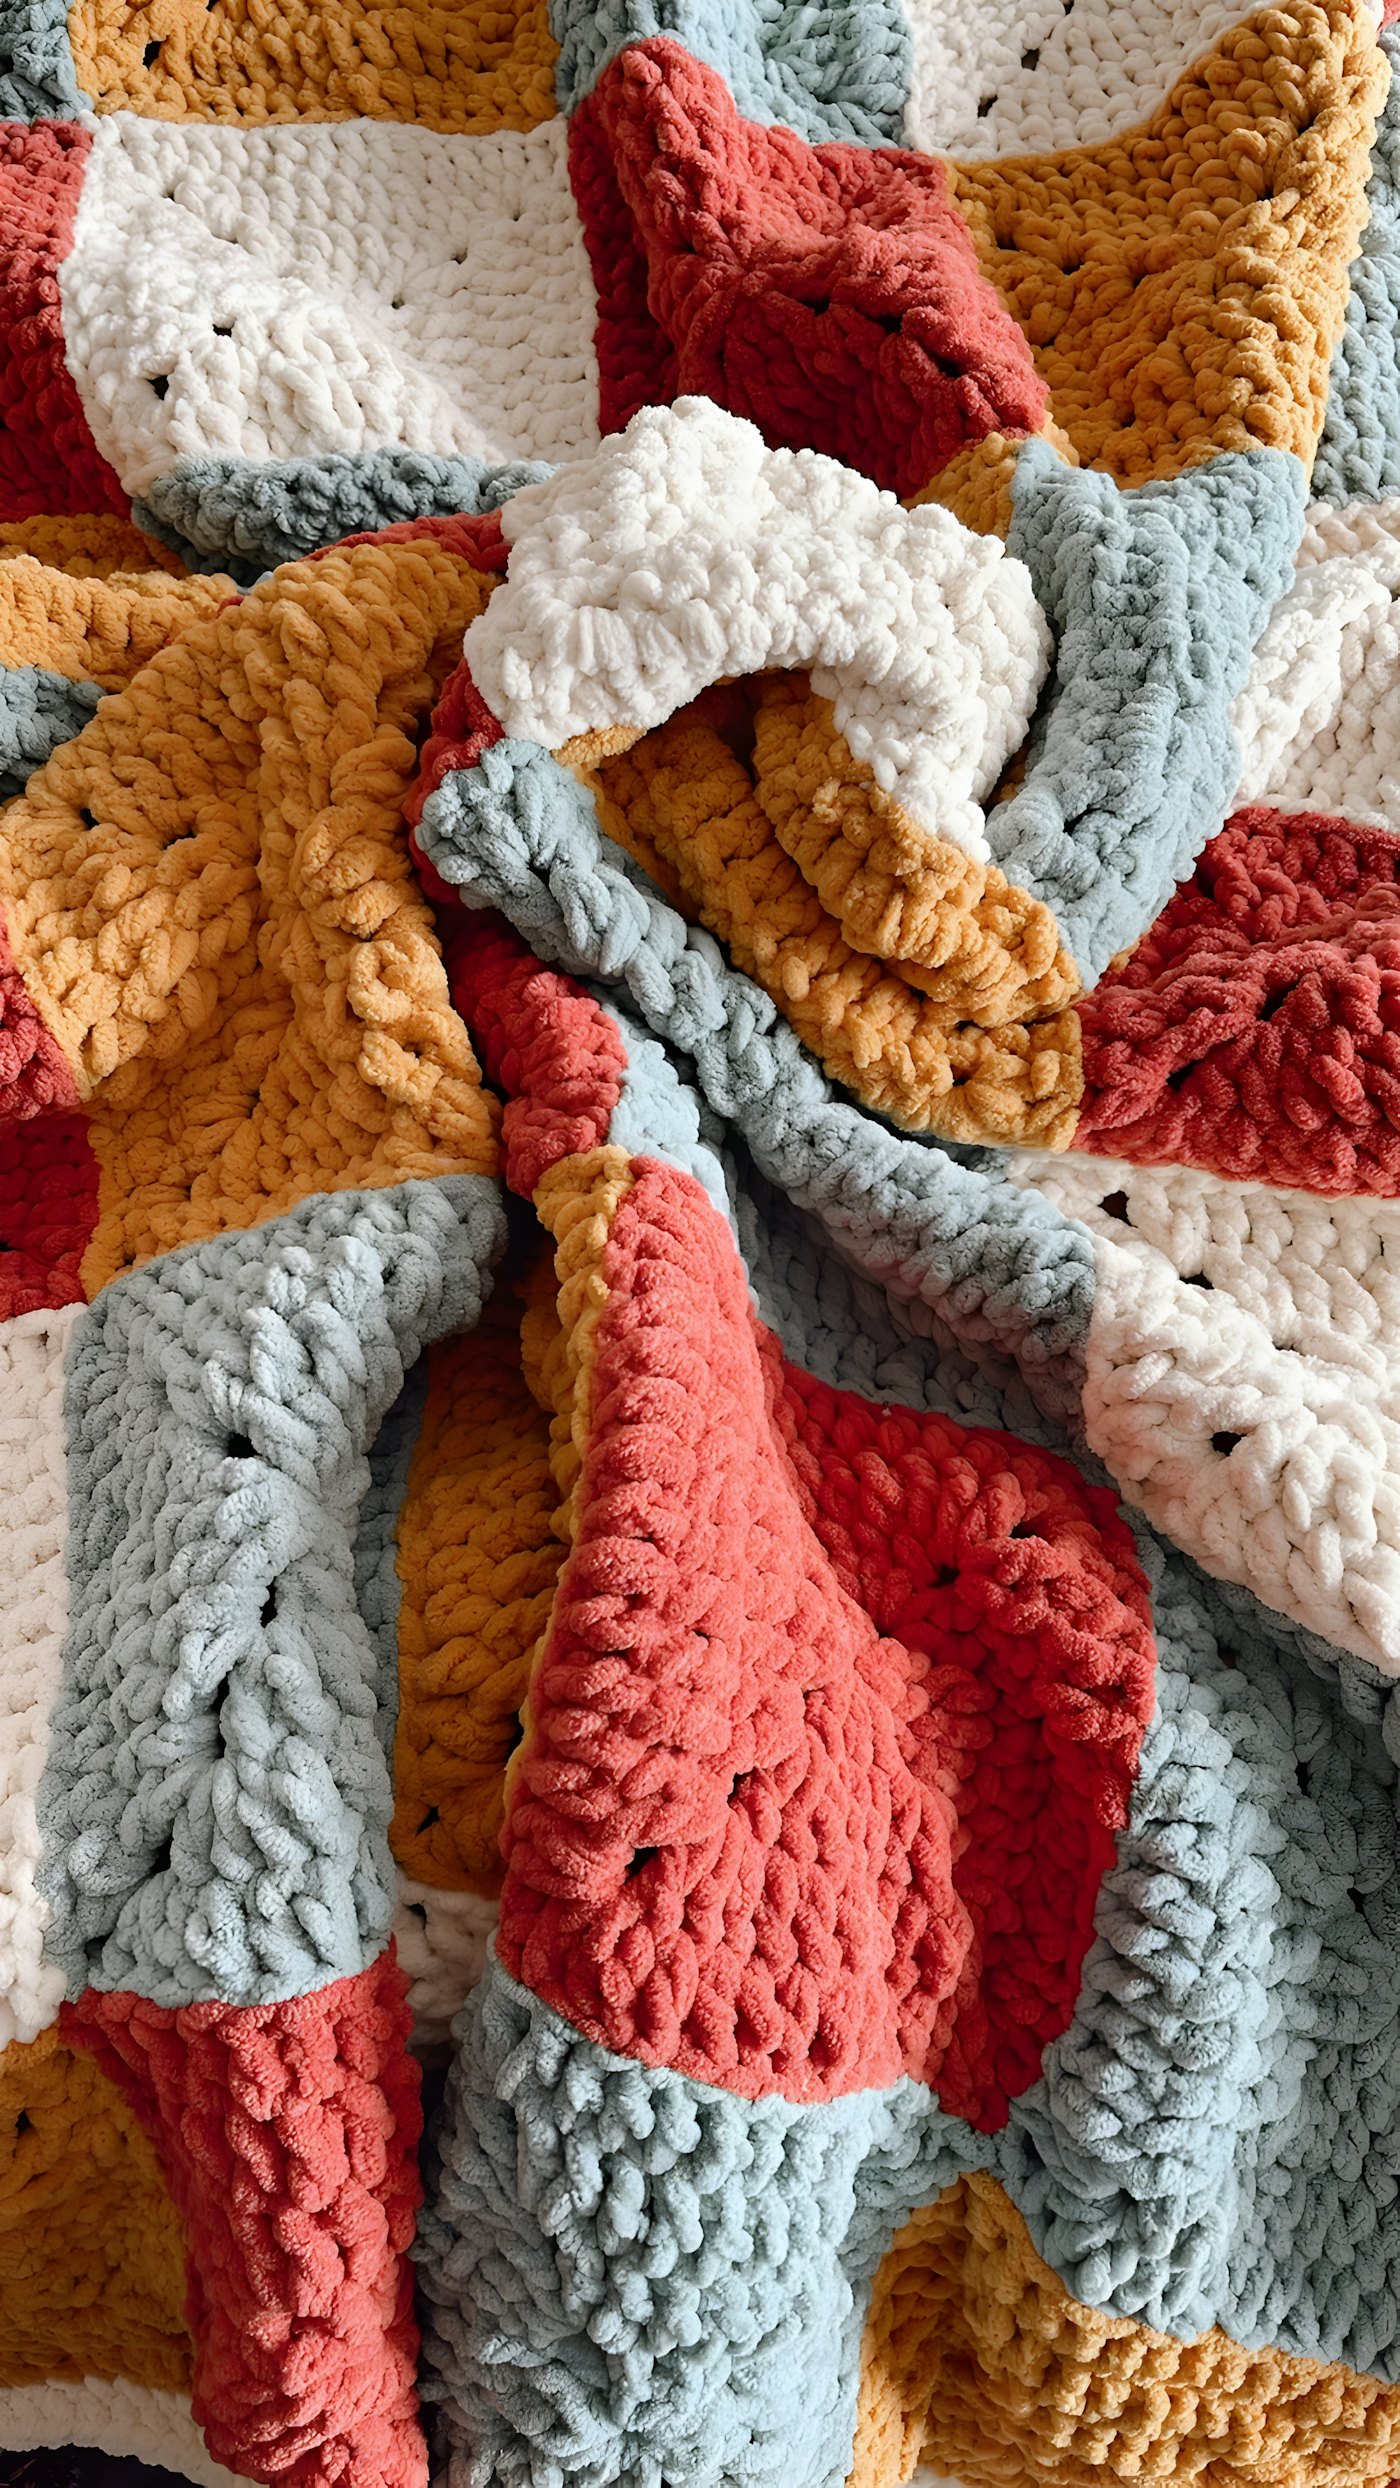
Why crochet edges go wobbly
Straight, even side edges are one of the clearest signs of tidy crochet, and they're also one of the hardest things for new crocheters to get right. The good news: nearly every uneven edge comes from the first and last stitches of each row. Fix those two stitches and your edges straighten out.
Uneven edges show up in a few ways:
- Wavy or bumpy sides, with little loops or gaps at the row ends
- Edges that slant, because the piece is growing or shrinking
- One side neat and the other messy, often because the start and end of rows are handled differently
Let's go through the causes and fixes, stitch by stitch.
Know your turning chain rules
The turning chain brings your yarn up to the height of the next row. Whether it counts as a stitch decides where your first and last stitches go, and mixing this up is the number one cause of uneven edges.
| Stitch | Usual turning chain | Counts as a stitch? | First stitch goes… | Last stitch goes… |
|---|---|---|---|---|
| Single crochet | ch 1 | Usually no | Into the first stitch | Into the last stitch (not the turning chain) |
| Half double crochet | ch 2 (or ch 1) | Varies by pattern | Depends on the pattern | Depends on the pattern |
| Double crochet | ch 3 | Usually yes | Into the 2nd stitch (skip the first) | Into the top of the turning chain |
| Treble crochet | ch 4 | Usually yes | Into the 2nd stitch | Into the top of the turning chain |
Always check your pattern's notes, which override these general rules. Then do it exactly the same way on every row. Consistency matters more than which method you use.
Finding the first and last stitch
The first stitch
When the turning chain doesn't count, the first stitch sits right at the base of the turning chain and is easy to skip, because it's half hidden. Gently pull the turning chain aside to see it.
The last stitch
The last stitch of a row is often small and tucked under, especially in single crochet. If you're losing a stitch on every row, this is probably where it's going. Look closely at the end of the row and make sure you've worked into the final V.
The top of the turning chain
When the turning chain counts, you have to work into its top at the end of the next row. It looks like a chain, not a normal stitch, so it's easy to stop one stitch short. Work into the top chain of it, for example the 3rd chain of a ch 3.
Fixing loose or gappy edges on tall stitches
Even when you do everything right, double and treble crochet edges can look loose. A turning chain is thinner than a real stitch, so it leaves a gap or a stretched loop at the start of each row.
Some popular fixes:
- Chain one fewer. Try a ch 2 instead of a ch 3 for double crochet. It still counts as a stitch, but it's snugger.
- Stacked single crochet. Work a single crochet in the first stitch, then a second single crochet into the left side of that one. It's roughly double crochet height and looks more like a real stitch.
- Chainless starting double crochet. Pull the loop on your hook up to stitch height and work a double crochet around it. Search for "chainless starting double crochet" for photo tutorials.
- Tighten the last stitch. Give the working yarn a small tug after the last stitch of each row, before you chain and turn.
Pick one method and use it on every row, so both edges match.
Counting: the habit that fixes everything
Count your stitches at the end of every row, at least until you can see your edges are staying straight. If the count is off:
- One extra stitch: you probably worked into the turning chain when it doesn't count, or into the first stitch when it does.
- One missing stitch: you probably missed the last stitch, or the top of the turning chain.
- Off by several: look for accidental increases or decreases in the middle of the row.
Our guide to why blankets get wider goes deeper into stitch counts that drift.
Hiding uneven edges with a border
If your piece is finished and the edges are a bit wobbly, a border is a great way to tidy them up. The trick is putting the right number of stitches along the row ends, the sides where you work into the edges of rows rather than into stitch tops.
Common starting points for a single crochet border along the sides:
- Single crochet rows: about 1 sc into the end of each row.
- Half double crochet rows: about 3 sc for every 2 rows.
- Double crochet rows: about 2 sc into the end of each row.
- Corners: 3 sc into each corner stitch so the border turns neatly.
Watch the edge as you work. If it ruffles or waves, you're adding too many stitches; skip one now and then. If it pulls in or puckers, add an extra stitch now and then. Your tension decides the exact ratio, so let the fabric tell you.
After the border, block the piece, pinning the edges straight. Our blocking lesson explains how.
A quick troubleshooting table
| What you see | Likely cause | Fix |
|---|---|---|
| Edge grows outward | Extra stitch at the start or end of rows | Check the turning chain rule; mark the first stitch |
| Edge slants inward | Missing the last stitch or the top of the turning chain | Mark the turning chain; look for the last stitch |
| Loops or gaps on one side | Loose turning chains | Chain one fewer, or use a stacked or chainless start |
| Wavy sides with a correct count | Tension changing at row ends | Snug up the last stitch; keep a steady pinch on the work |
| Bottom edge tight | Tight foundation chain | Bigger hook for the chain, or a foundation stitch |
Frequently asked questions
Know whether your turning chain counts as a stitch, work the first and last stitch the same way every row, mark them with stitch markers, and count stitches at the end of each row.
Related Crochet Calculators & Converters
Stitch Count Calculator
Calculate the exact number of stitches needed to resize any pattern or match custom dimensions.
Chain Calculator
Calculate exact starting foundation chain count with turning chain and pattern repeat adjustments.
Blanket Size Calculator
Standard blanket dimensions (Baby to King), estimated rows, stitches, and yardage requirements.
Related Educational Guides & Tutorials
How to Read a Crochet Pattern: The Complete Guide
Every part of a crochet pattern explained, from skill levels and multiple sizes to repeats, stitch counts, shaping language, charts and schematics, plus what to do when something seems wrong.
Why Is My Crochet Blanket Getting Wider? 5 Causes and Fixes
A blanket that turns into a trapezoid is gaining stitches or changing tension. Diagnose which in two minutes, fix the five common causes, and rescue a blanket that's already wonky.
Why Is My Crochet Curling? Fixes for Rows, Circles and Granny Squares
Curling almost always means one part of the fabric is tighter than the rest. Here's how to fix curling rows, circles that cup or ruffle, and granny squares that won't lie flat.