Crochet Basics
How to Read a Crochet Pattern: The Complete Guide
Every part of a crochet pattern explained, from skill levels and multiple sizes to repeats, stitch counts, shaping language, charts and schematics, plus what to do when something seems wrong.
8 min readPublished Updated
This profile is a development placeholder, not a real person, and claims no credentials. See our contributors.
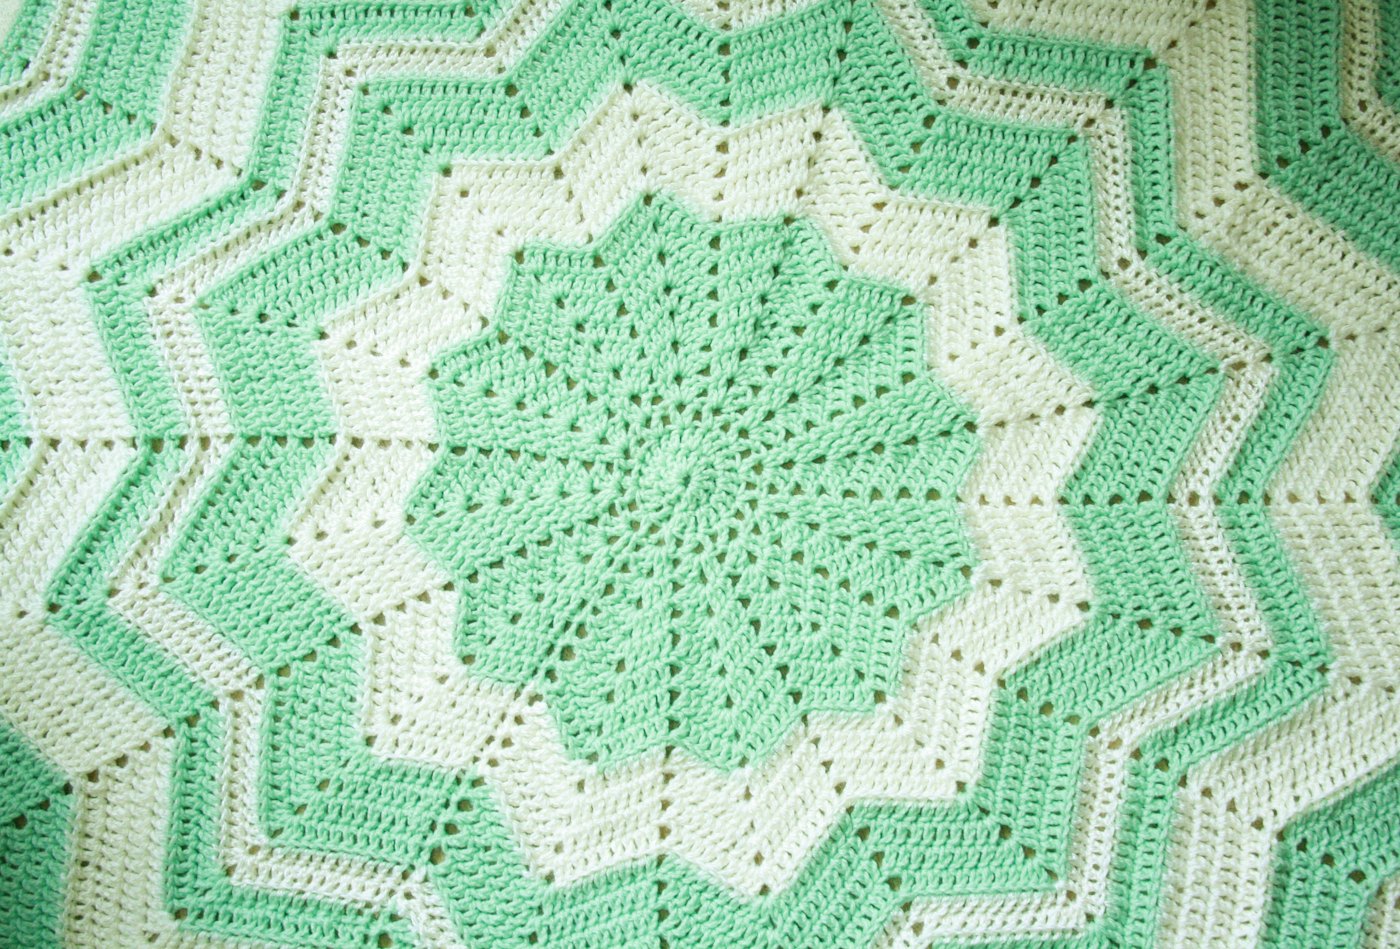
The anatomy of a crochet pattern
Almost every crochet pattern, from a free blog post to a printed book, follows the same structure. Once you know where things live, you can find what you need in seconds.
- 1.Title and photos: what you're making, ideally with close-up photos of the stitches.
- 2.Skill level: how much experience the designer expects.
- 3.Finished size: measurements of the completed item, sometimes for several sizes.
- 4.Materials: yarn (weight, fiber, amount), hook size, and notions like stitch markers, buttons or safety eyes.
- 5.Gauge: how many stitches and rows fit in a measured square.
- 6.Abbreviations: the shorthand used in the instructions.
- 7.Special stitches and notes: anything unusual, plus the designer's rules, such as whether turning chains count as stitches.
- 8.Instructions: row by row or round by round.
- 9.Finishing: assembling, blocking, borders and weaving in ends.
- 10.Charts and schematics (optional): diagrams of the stitches or of the finished shape with measurements.
Read the whole pattern once before you start. Problems in Row 12 are often explained in the notes on page one.
Skill levels
Most English-language patterns use the Craft Yarn Council's four skill levels:
| Level | What to expect |
|---|---|
| Beginner | Basic stitches, simple repetition, minimal shaping. Good first projects. |
| Easy | Basic stitches, repetitive stitch patterns, simple color changes and shaping. |
| Intermediate | A wider variety of stitches, such as lace or post stitches, mid-level shaping and finishing. |
| Experienced | Intricate stitch patterns, detailed shaping, fine thread or many colors. |
Skill levels are a guide, not a gate. A motivated beginner can tackle an "easy" or even "intermediate" pattern, as long as they're willing to learn a new stitch or two along the way, and practice it on a swatch first.
Materials and how much yarn to buy
The materials list tells you what the designer used. You don't have to match it exactly, but you should understand what each item does.
- Yarn: note the weight category (for example #4 medium), the fiber and the total yardage. If you substitute a different yarn, match the weight and buy by length, not by number of balls. Our yarn weight guide explains how.
- Hook: the size the designer used to get gauge. Treat it as a starting point; the right hook for you is the one that matches the gauge.
- Notions: stitch markers, a yarn needle for weaving in ends, and anything specific to the project.
Sizing: patterns with more than one size
Garment and hat patterns often include several sizes. Numbers for each size are listed in order, usually with the smallest first and the others in parentheses:
Ch 81 (89, 97, 105, 113).
This means size 1 chains 81, size 2 chains 89, and so on. If only one number is given in a later instruction, it applies to all sizes.
To avoid mistakes:
- Pick your size using the finished measurements, not just the size label. Check the schematic or size chart.
- Highlight or circle every number for your size before you start. It's the single best way to avoid following the wrong size halfway through.
- Note the ease: the difference between your body measurement and the garment measurement. A sweater with 4 inches of positive ease will be 4 inches bigger than your chest.
Pattern notation: the symbols that do the heavy lifting
| Notation | Meaning | Example |
|---|---|---|
* | Start of a repeat | *sc in next st, ch 1, sk next st; rep from * across |
; | End of the repeated part | (as above) |
rep from * x more times | Repeat the starred section this many more times | You'll work it x + 1 times in total |
[ ] | Repeat the bracketed sequence the stated number of times | [sc, ch 1] 3 times |
( ) | Work all of these into the same stitch or space | (2 dc, ch 2, 2 dc) in next ch-2 sp |
( ) at row end | Stitch count for the row | (24 sc) |
across | To the end of the row | |
around | To the end of the round | |
even | Without increasing or decreasing | Work even for 10 rows |
evenly | Spread out evenly across the row | Dec 6 sts evenly across |
Parentheses do double duty: they group stitches worked into one spot, and they hold stitch counts and other sizes. Context makes it clear which is which.
Watch out for rep from * 3 more times versus [ ] 3 times. The first means four repeats in total, since you've already done one; the second means three in total. Many patterns are careful about this, but if a count doesn't add up, this is often why.
Rows, rounds and spirals
Rows are worked back and forth. At the end of each row you chain (the turning chain) and turn the work.
Joined rounds are worked in circles. Each round ends with a slip stitch into the first stitch, then you chain up to start the next round, usually without turning, unless the pattern says to turn.
Spiral rounds, common in amigurumi, have no join. You keep crocheting round and round, using a stitch marker to show where each round starts. If a pattern says "do not join," it's a spiral.
Knowing which one you're doing tells you whether to look for a turning chain and a join at the end of each line of instructions.
Stitch counts: your built-in error checker
Many patterns end rows or rounds with a stitch count in parentheses or after a dash, like (36 sts) or —48 dc. It's not an instruction; it tells you how many stitches you should have.
Use it every time, at least until you're confident in the stitch pattern:
- 1.Count your stitches at the end of the row.
- 2.If the count matches, carry on.
- 3.If it doesn't, check the start and end of the row first (turning chains are the usual suspect), then look for a skipped or doubled stitch.
Counting feels slow, but it's faster than ripping out ten rows. Placing a stitch marker every 10 or 20 stitches makes counting long rows much easier.
Shaping language
Patterns describe shaping with a few standard phrases:
- Inc (increase): usually 2 stitches in the same stitch, to make the piece wider.
- Dec (decrease): combine stitches, such as
sc2tog, to make it narrower. - Work even: continue without increasing or decreasing.
- Inc 6 sts evenly around: spread the increases out. Our increase calculator and decrease calculator work out exactly where they go.
- Work until piece measures…: keep going until you reach the stated length, which means you don't have to match the row count exactly.
For amigurumi, shaping is everything. A smooth sphere depends on placing increases and decreases correctly, so follow the counts carefully.
Charts and schematics
Many patterns include diagrams alongside the written instructions.
- A stitch chart draws every stitch as a symbol, so you can see the pattern's structure at a glance. They're especially helpful for lace and motifs, and they work in any language. Learn the symbols in our crochet chart symbols lesson.
- A schematic is a drawing of the finished pieces with their measurements, for example a sweater front showing the width at the chest and the length from shoulder to hem. Use it to choose your size and check your work as you go.
When the written instructions and the chart seem to disagree, look carefully: usually one of them is clearer for that particular row, and they say the same thing.
When the pattern seems wrong
Sometimes the pattern really does have a mistake. More often, a tricky instruction just needs a second look. Work through it in this order:
- 1.Re-read the notes and special stitches at the start.
- 2.Check the terminology. Is it UK and you're working US stitches? See our US vs UK terms guide.
- 3.Check your size. Are you following the right number in the parentheses?
- 4.Recount the previous row. An extra or missing stitch two rows back can make the current row impossible.
- 5.Look for errata. Designers often post corrections on their website or the pattern's listing page.
- 6.Ask. Many designers answer questions, and crochet communities are generous with help.
If you've checked everything and the math still doesn't work, it's okay to adjust, for example adding or skipping a stitch at the end of a row to match the count. Make a note of what you changed, so you can do the same in later rows.
Frequently asked questions
It marks the start of a sequence to repeat. When you reach "rep from *," go back to the asterisk and work the sequence again, as many times as the pattern says.
Related Crochet Calculators & Converters
Stitch Count Calculator
Calculate the exact number of stitches needed to resize any pattern or match custom dimensions.
Chain Calculator
Calculate exact starting foundation chain count with turning chain and pattern repeat adjustments.
Crochet Increase Calculator
Evenly distribute increase stitches across any row or round with step-by-step crochet instructions.
Crochet Decrease Calculator
Distribute decreases smoothly across any row or round with human-readable crochet instructions.
Related Educational Guides & Tutorials
What Is Crochet Gauge? How to Measure It and Why It Matters
Gauge is the translation key between the designer's hands and yours. Learn how to make a swatch that tells the truth, measure it, match the pattern, and use the math to size any project.
US vs UK Crochet Terms: Conversion Chart and How to Tell Them Apart
A UK double crochet is a US single crochet. Here's the full conversion chart, why the systems differ, how to spot which one a pattern uses, and how to convert without mistakes.
How to Fix Uneven Crochet Edges and Keep Them Straight
Almost every wobbly edge comes from the first and last stitch of each row. Learn the turning chain rules, the fixes for gappy edges, and how to tidy a finished piece with a border.