How to Read Crochet Chart Symbols and Diagrams
Crochet charts show a pattern as a picture, with one symbol per stitch. They're used all over the world because the symbols don't depend on language. Learn a dozen symbols and the reading direction, and charts become one of the fastest ways to follow a pattern.
4 min readPublished
This profile is a development placeholder, not a real person, and claims no credentials. See our contributors.
The short version
- Each symbol represents one stitch, and its height roughly matches the stitch's height.
- Rows are read back and forth; rounds are read from the center outward.
- The number of bars across a symbol's stem tells you how many yarn overs it starts with.
- Always check the pattern's own key, since designers sometimes add special symbols.
Why charts are worth learning
A crochet chart is a diagram of the finished fabric, with each stitch drawn as a symbol in the place where you work it. That makes charts brilliant for:
- Lace and motifs, where you can see the shape you're building
- Patterns in other languages, since the symbols are international
- Spotting mistakes, because you can compare your work with the picture
Many patterns give both written instructions and a chart. Using both together is a great way to learn.
The basic symbols
These are the standard symbols used by the Craft Yarn Council and most publishers:
| Stitch | Symbol |
|---|---|
| Chain (ch) | A small oval |
| Slip stitch (sl st) | A small filled dot, or a small arc |
| Single crochet (sc) | A plus sign (+) or an X |
| Half double crochet (hdc) | A T shape |
| Double crochet (dc) | A T with one short diagonal bar across the stem |
| Treble crochet (tr) | A T with two diagonal bars |
| Double treble (dtr) | A T with three diagonal bars |
There's a handy logic here: each diagonal bar stands for one yarn over at the start of the stitch. A double crochet starts with one yarn over and has one bar; a treble starts with two and has two.
Increases, decreases and textured stitches
- Increases look like two or more symbols fanning out from the same point at the bottom, because several stitches go into one stitch.
- Decreases (such as sc2tog or dc2tog) look like two or more symbols whose bottoms are separate but whose tops join into one point.
- Clusters, puffs and bobbles are several stems joined at the top, often drawn as a rounded or oval group.
- Popcorns are drawn as a group of stitches with a closed, bulbous top.
- Shells are several stitches fanning out from one base, like an open fan.
- Picots are usually a small loop of chain ovals with a dot where it joins.
The exact drawings vary a little between publishers, which is why every chart comes with a key.
Post stitches and loop markings
- Front post and back post stitches use the regular stitch symbol with a hook-shaped curve at the bottom of the stem. The direction of the curve shows front or back.
- Back loop only and front loop only are shown with a small mark, often an arc, at the base of the stitch symbol.
These are some of the symbols that vary most between designers, so check the key whenever you see an unfamiliar mark.
Reading charts worked in rows
Row charts are read back and forth, the way you actually work:
- 1.Start at the bottom with the foundation chain.
- 2.Read Row 1 from right to left if you're right-handed. The row number is usually printed at the end where the row starts.
- 3.Read Row 2 from left to right, since you've turned the work.
- 4.Keep alternating direction with each row.
Turning chains are drawn at the start of each row as a short stack of ovals, and you can count them to see how many chains to make.
Reading charts worked in rounds
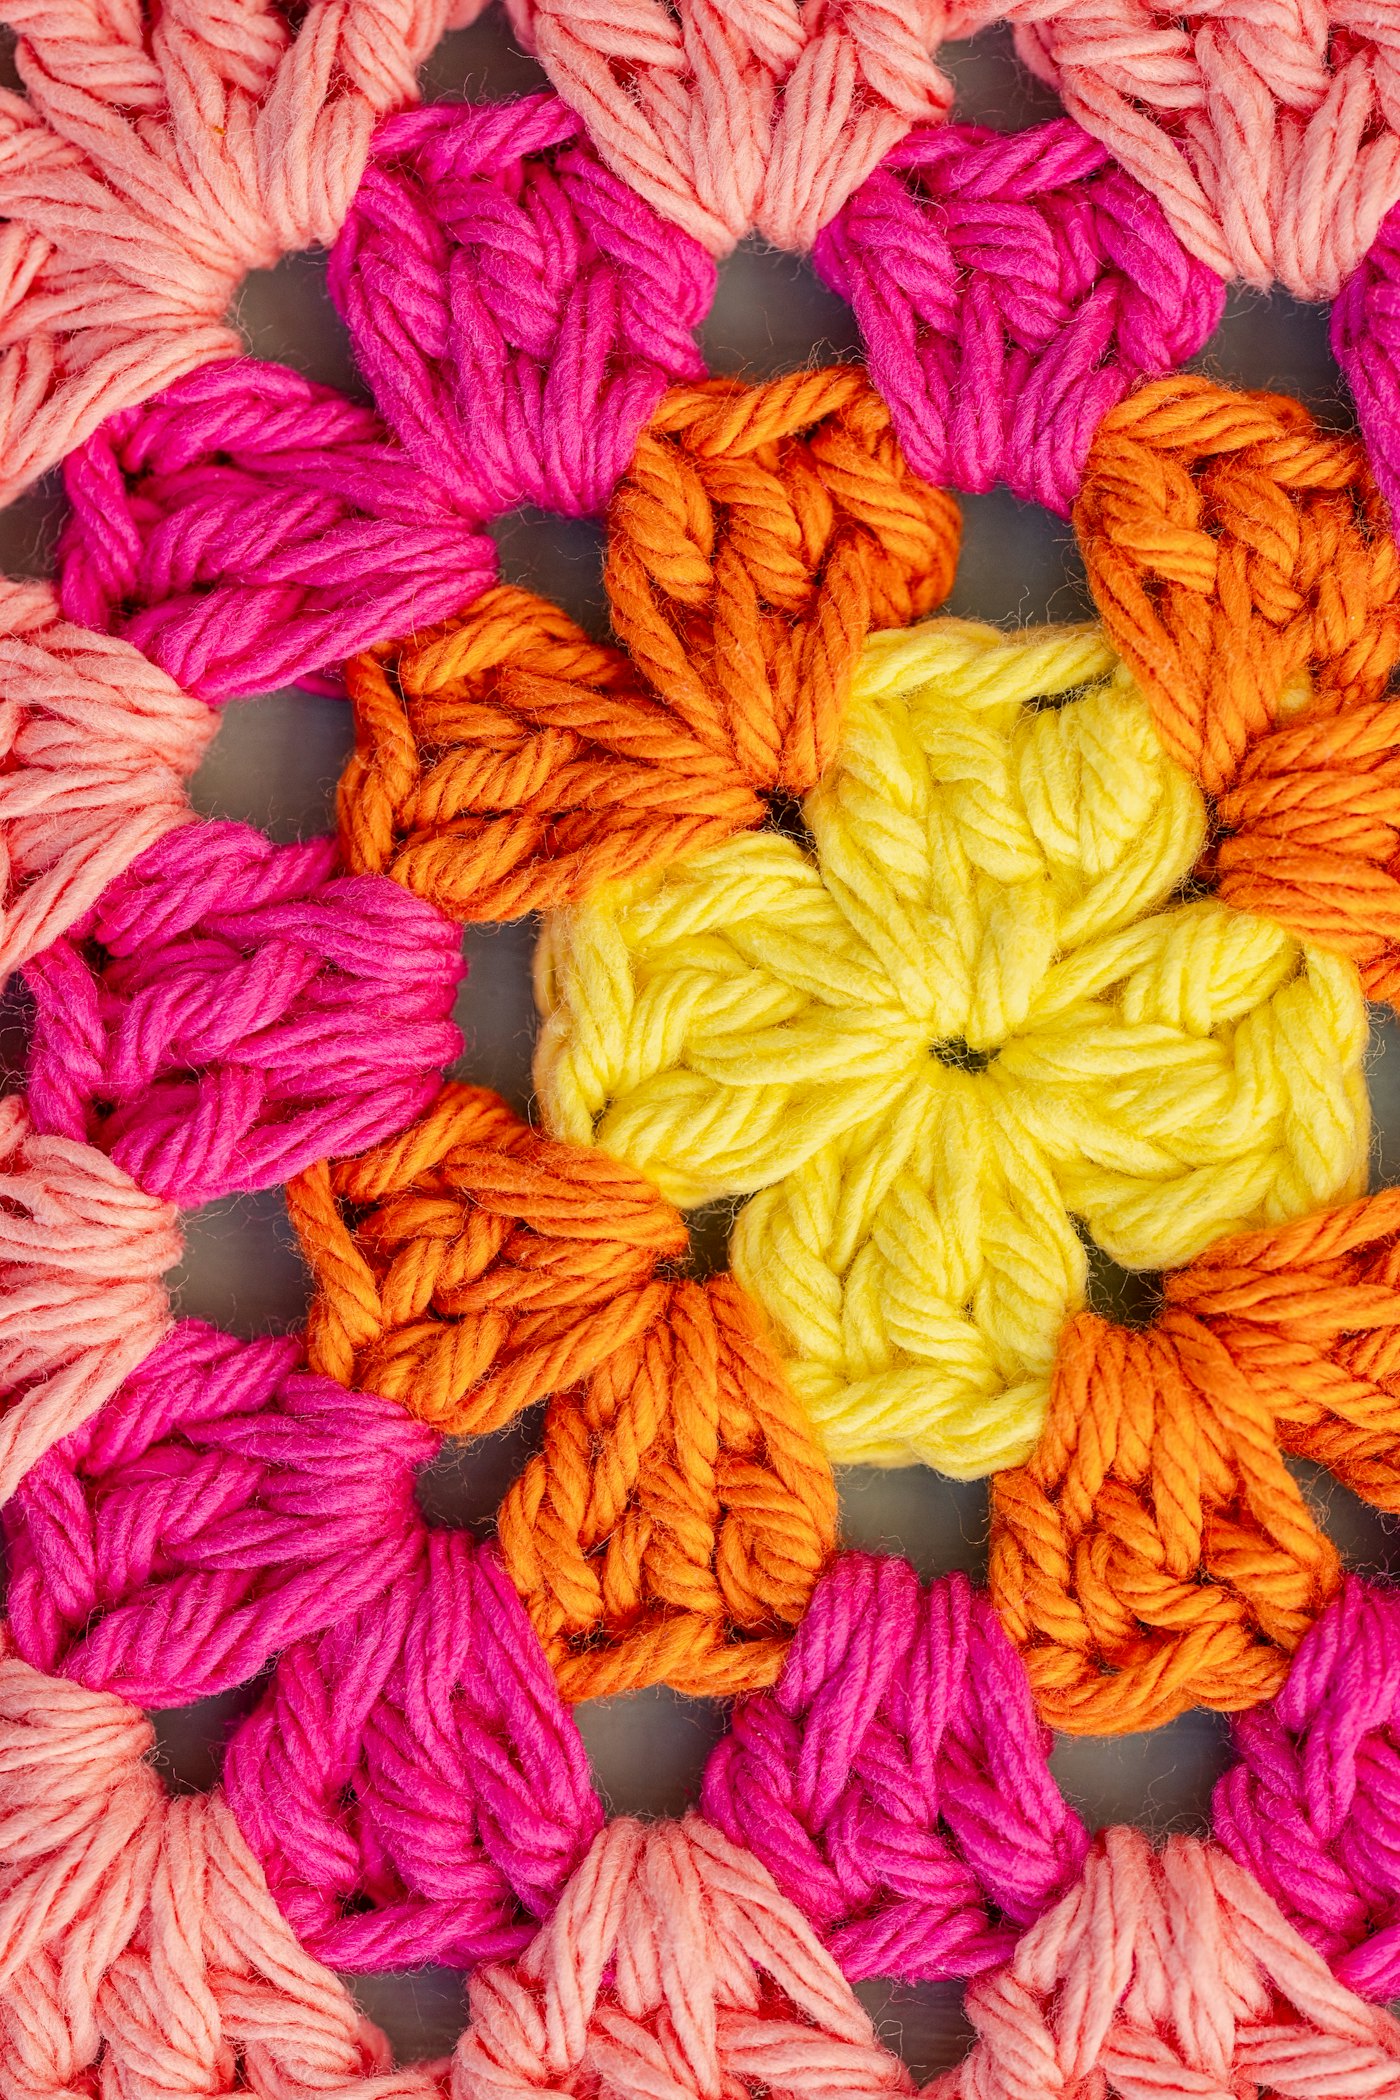
Round charts, used for granny squares, doilies and motifs, start in the center and spiral outward:
- 1.Find the center ring or chain ring.
- 2.Read each round counterclockwise if you're right-handed, which matches the direction you crochet, or clockwise if you're left-handed.
- 3.The round number is printed where each round begins, often next to the starting chain.
- 4.Rounds are often drawn in alternating colors to make them easier to tell apart.
If a round starts with a slip stitch to move to a new position, that's shown too: a few dots before the starting chain tell you to slip stitch along before you begin.
Tips for working from a chart
- Enlarge the chart. Print it bigger or zoom in on a tablet.
- Mark your place. Use a ruler, sticky note or highlighter tape to cover rounds you've finished.
- Count the symbols in a repeat and compare with your stitches before moving on.
- Use the written pattern too for the tricky bits, if one is given.
- Read the key every time. Designers do sometimes use their own symbols.
For written-pattern shorthand, keep our abbreviations cheat sheet open alongside the chart.
Questions crocheters ask
The basic symbols are widely shared internationally, which is why charts are so useful for foreign patterns. Special stitches can vary, so always check the pattern's key.
Related Crochet Calculators & Converters
Related Educational Guides & Tutorials
US vs UK Crochet Terms: Conversion Chart and How to Tell Them Apart
A UK double crochet is a US single crochet. Here's the full conversion chart, why the systems differ, how to spot which one a pattern uses, and how to convert without mistakes.
How to Read a Crochet Pattern: The Complete Guide
Every part of a crochet pattern explained, from skill levels and multiple sizes to repeats, stitch counts, shaping language, charts and schematics, plus what to do when something seems wrong.