Crochet Troubleshooting
Why Is My Crochet Curling? Fixes for Rows, Circles and Granny Squares
Curling almost always means one part of the fabric is tighter than the rest. Here's how to fix curling rows, circles that cup or ruffle, and granny squares that won't lie flat.
5 min readPublished Updated
This profile is a development placeholder, not a real person, and claims no credentials. See our contributors.
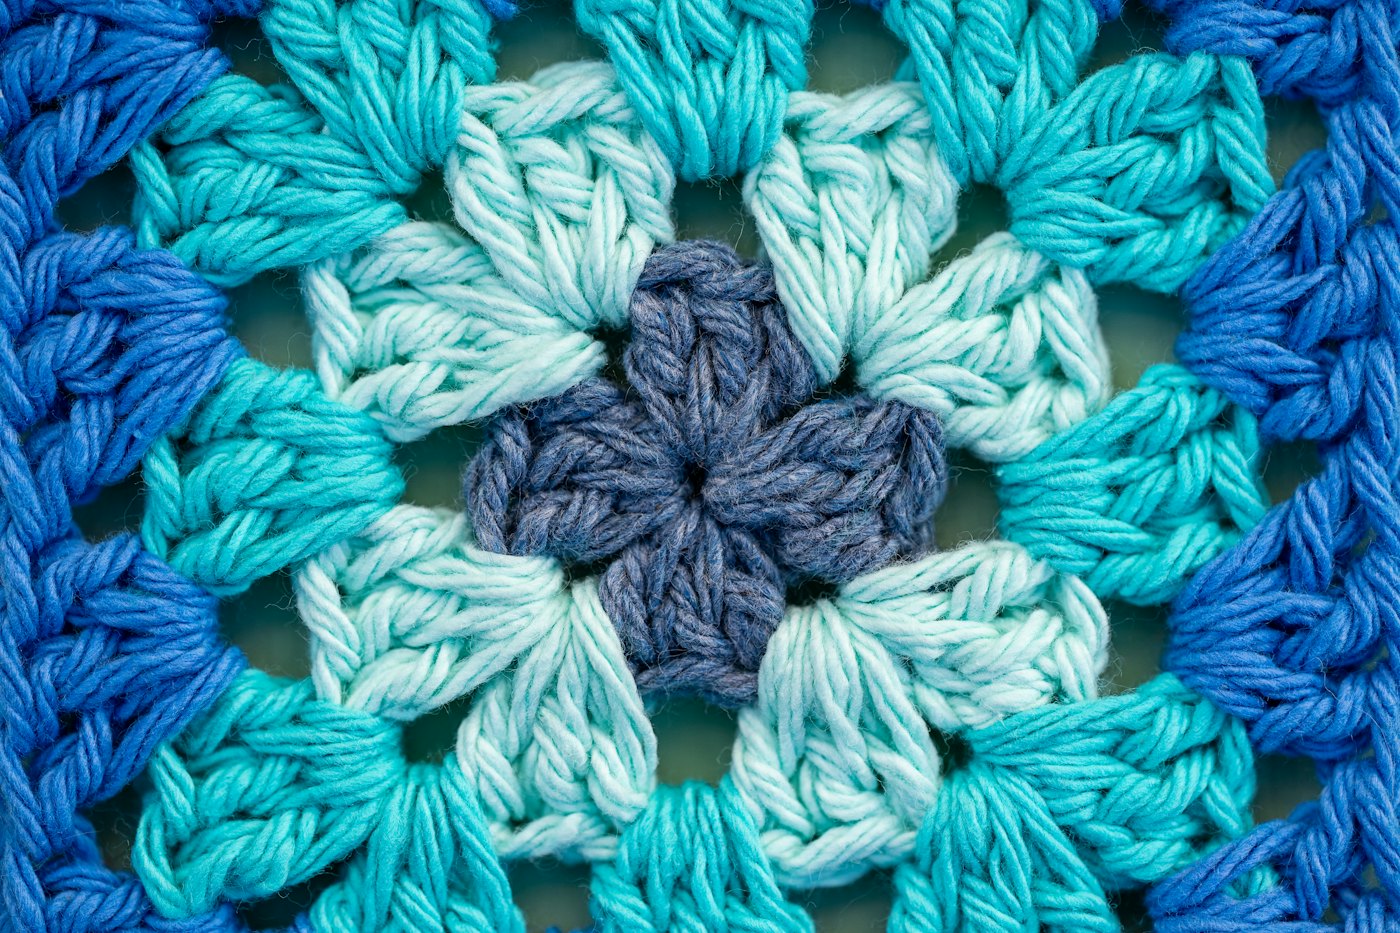
Curling usually means something is too tight
Crochet that won't lie flat is frustrating, but it's one of the easiest problems to diagnose. In most cases, one part of the fabric is tighter or shorter than the part next to it, so the fabric bends toward the tight side.
The fix depends on what's curling:
- Flat pieces worked in rows (scarves, blankets, swatches) that roll up at the bottom or the sides.
- Circles and other shapes worked in rounds that cup into a bowl or ripple like a ruffle.
- Granny squares that curl at the corners or won't sit flat.
Let's go through each.
Curling in rows: the usual suspects
A tight foundation chain
If the bottom edge curls up, the foundation chain is probably tighter than the rows above it. It's the most common cause of curling in rows.
Fix: make your chain with a hook one or two sizes larger, or start with a foundation stitch row, which is as stretchy as the fabric above it. See foundation single crochet.
Tight tension overall
Very tight stitches make stiff fabric that curls easily, especially in single crochet.
Fix: go up half a millimeter or a full millimeter in hook size, and let your loops sit on the shaft of the hook rather than the narrow throat. Our tension lesson has more tips.
The stitch itself
Some stitches naturally lean or curl. Single crochet worked in rows can roll slightly; fabric worked only in the back loops or front loops can curl; and stitches worked in rounds without turning tend to slant.
Fix: blocking usually sorts this out. A border of single crochet, or a round of slip stitch, also helps hold the edges flat.
Uneven edges
If the sides curl or wave, you may be adding or losing stitches at the row ends. See our guide to fixing uneven crochet edges.
Circles that cup or ruffle
Flat circles, such as coasters, mandalas, hat crowns and rugs, depend on adding exactly the right number of stitches each round.
- Cupping (making a bowl): not enough increases. The outer edge is too short to lie flat.
- Ruffling or waving: too many increases. The outer edge is too long and has to ripple to fit.
The flat circle rule: a common starting point is to begin with a certain number of stitches and add that same number every round:
| Stitch | Round 1 | Increase each round |
|---|---|---|
| Single crochet | 6 sc | +6 per round (6, 12, 18, 24…) |
| Half double crochet | 8 hdc | +8 per round (8, 16, 24, 32…) |
| Double crochet | 12 dc | +12 per round (12, 24, 36, 48…) |
Why does this work? A flat circle's circumference grows by about the same amount every round (roughly 2π times the height of one round), so you need to add about the same number of stitches each time. Taller stitches add more height per round, so they need more stitches.
Fixing an existing circle:
- Cupping: add a few extra increases to the next round, or go up a hook size.
- Ruffling: skip a few increases in the next round, or go down a hook size.
- Stagger your increases so they don't stack in the same place, which can turn a circle into a hexagon.
Your tension and yarn affect this too, so treat the rule as a starting point and adjust by eye. Our increase calculator spaces increases evenly for any count.
Granny squares that won't lie flat
Granny squares have their own quirks:
- Corners that pucker or curl up: usually too few chains in the corners, or corner clusters worked too tightly. Try a ch 2 corner instead of a ch 1, and keep your corner stitches relaxed.
- Edges that ruffle or wave: too many stitches along the sides, or too many chains between clusters. Check that you're working one cluster per space.
- Squares that twist: working the clusters into the wrong spaces, or a tight first round. Make sure the first round is relaxed and the chain ring isn't pulled too tight.
- Squares that come out different sizes: usually tension changes between crocheting sessions. Block every square to the same size before joining.
Amigurumi that curls the wrong way
Small spiral pieces sometimes curl so that the "wrong" side faces out. In amigurumi, which side is outside matters, because the right side has neater V-shaped stitches.
As you work in the round, the right side naturally faces outward, and the inside of the tube or ball is the wrong side. If your piece has flipped so the wrong side is showing, gently push it right side out. Some crocheters accidentally work their rounds inside out; if your stitches look different from the pattern photos, check which side is facing you.
Blocking: the final fix for most curling
Blocking relaxes the fibers and sets your fabric in its new shape. For mild curling caused by the stitch or slight tension differences, it's usually all you need.
- 1.Wet, spray or steam the piece, depending on the fiber.
- 2.Pin it flat to the right shape and size on a blocking mat or towel.
- 3.Let it dry completely before unpinning.
Natural fibers like wool and cotton respond best. Acrylic responds to light steam, but too much heat permanently relaxes it, so test on a swatch. Our blocking lesson explains each method.
What blocking can't fix: curling caused by a big tension difference, such as a very tight foundation chain, or by too many or too few stitches. It may look better for a while and then curl back. For those, fix the underlying cause.
Frequently asked questions
Usually a tight foundation chain or tight tension overall. Use a bigger hook for the chain (or a foundation single crochet), go up a hook size, and block the finished piece.
Related Crochet Calculators & Converters
Crochet Gauge Calculator
Calculate stitch density and precise rows and stitches needed for your target project dimensions.
Crochet Hook Size Converter
Convert between US letter/number sizes, UK vintage numbers, and precise metric millimeter hook sizes.
Crochet Increase Calculator
Evenly distribute increase stitches across any row or round with step-by-step crochet instructions.
Related Educational Guides & Tutorials
What Is Crochet Gauge? How to Measure It and Why It Matters
Gauge is the translation key between the designer's hands and yours. Learn how to make a swatch that tells the truth, measure it, match the pattern, and use the math to size any project.
Why Is My Crochet Blanket Getting Wider? 5 Causes and Fixes
A blanket that turns into a trapezoid is gaining stitches or changing tension. Diagnose which in two minutes, fix the five common causes, and rescue a blanket that's already wonky.
How to Fix Uneven Crochet Edges and Keep Them Straight
Almost every wobbly edge comes from the first and last stitch of each row. Learn the turning chain rules, the fixes for gappy edges, and how to tidy a finished piece with a border.